


Foam Strips
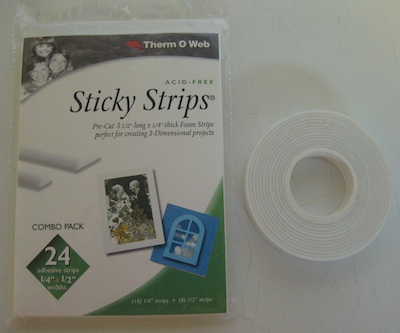
Foam strips are sticky on both sides and known, generally, as double sided sticky foam strips. They come in a roll, as pictured. You can cut them with scissors or with a craft knife. The adhesive is extremely sticky and bits of it will adhere to your scissors or craft knife. Clean up is with rubbing alcohol and paper towels.
There is a technique known as "Shaker Boxes". This foam strip is really good for this application. With a clear piece of acetate, (assuming it is square shaped) measure and cut the foam tape the length of one entire side of your acetate piece. Measure for the next cut, butt the foam tape against the piece you just cut and work out to the next edge. Continue on with the next two sides butting up the next piece to be cut with the previous cut piece.
Peel off the protective paper from one of the sticky sides of the foam tape and attach one side of the foam tape to the back of the acetate. Making very sure that the foam tape butts up against each piece all the way around. When you add the items that will "shake", such as seed beads, chunky confetti glitter, or any other small items, when done they won't have an escape route so it is important that you butt the foam tape all the way around.
Next, peel off the adhesive protective strip on three of the pieces of foam tape. This will expose the sticky side that will attach to your card or scrapbook layout. Once you have the three side good and secure to your card or layout then add the "shaker" items through the top (or whichever area still has the protective cover over the sticky stuff). Some of the shaker stuff will stick on the foam surfaces inside the shaker box but not all of it will. Once you have all your "shaker" stuff in then peel off the protective cover of the last piece of foam tape and adhere it to your layout or card front. Now you have a "Shaker" Box.
Foam strip double sided tape can be purchased at any craft/hobby store or online at a scrapbook store.

Foam Dots
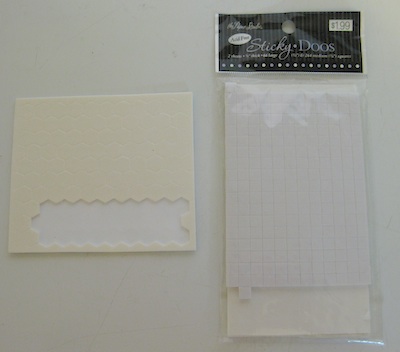
Foam dots are used to raise an embellishment or photo, on a scrapbook layout or a greeting card, above the flat surface of the base paper. The term used for this technique is "Dimension".
When using "Foam Dots", such as these, you just peel them from the backing paper and adhere to the piece you want elevated on your layout or card front. Then peel off the protective backing that is now on top of the "Foam Dot" and adhere your item to your layout or card. Really easy and the raised effect gives your piece an added dimension.
For added dimension and height the foam dots can be stacked on one another. For example, a winter themed greeting card or scrapbook layout which features a snowman you can do the following:
- Bottom round punched piece can be raised with one set of Dimensional Foam Dots.
- The second round punched piece for the belly area can have a stack of two foam dimensionals adhered in a few places. The bottom area of the middle circle can be placed just over the top of the bottom circle.
- The "Head" of the snow man can have a stack of three dimensionals adhered in a few places. The Head will be raised higher than the other two circles. This will make the Snowman look more 3-D.
Foam dots or Dimensionals can be purchased at any craft/hobby store, or online at any scrapbook store.
Glue Dots
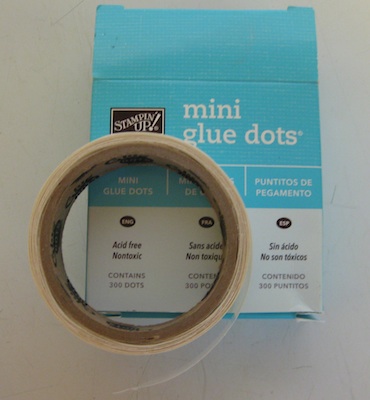
There are mini glue dots with a flat and small surface measuring 1/4" wide and very thin. Glue dots go up in size from there to approximately 3/4" wide and 1/2" high.
Glue dots have many uses. Attaching very small images, rhinestones, beads, small buttons, and bows to your layouts and card fronts. They come in really handy when you want to attach ribbon to a layout or card front on both edges and the middle, instead of running adhesive all along the ribbon. The glue dots are permanent and are strong enough to hold all of your small embellishments and flowers. Well worth the expense to have these on hand.
Glue Dots don't "Mash Down" well. They are designed to raise and hold items up. There is a size for any need you may have.
Glue dots can be purchased at any craft/hobby store or online at any scrapbook store.